
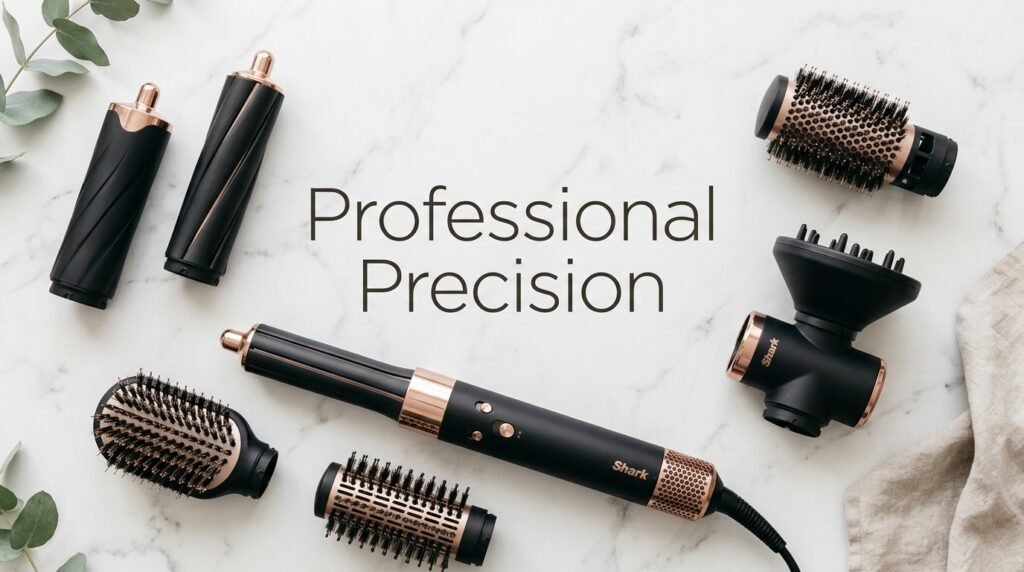
You wash your hair, pick up the dryer, and forty-five minutes later you have a sore arm, a hot brush, and a style that falls flat by lunchtime. It’s a common routine, and it’s the reason so many people look for a better way to style at home.
That’s where Shark Flex Styling comes in. It’s popular because it combines drying and styling in one tool, so you don’t have to juggle a dryer, a curling iron and a round brush. In this guide you’ll learn how it works, which attachment suits which hair type, how to style step by step, and which mistakes quietly ruin results.
What Is Shark Flex Styling?
Shark Flex Styling is the method of drying and shaping your hair with a Shark FlexStyle-type air styler. These tools use fast, controlled airflow instead of hot plates. Hair is dried and shaped at the same time by moving air, with attachments swapped in for different looks.
Quick answer: Shark Flex Styling means using one multi-attachment air styler to dry, curl, wave, smooth or add volume to hair without relying on direct-contact heat tools like flat irons or curling tongs.
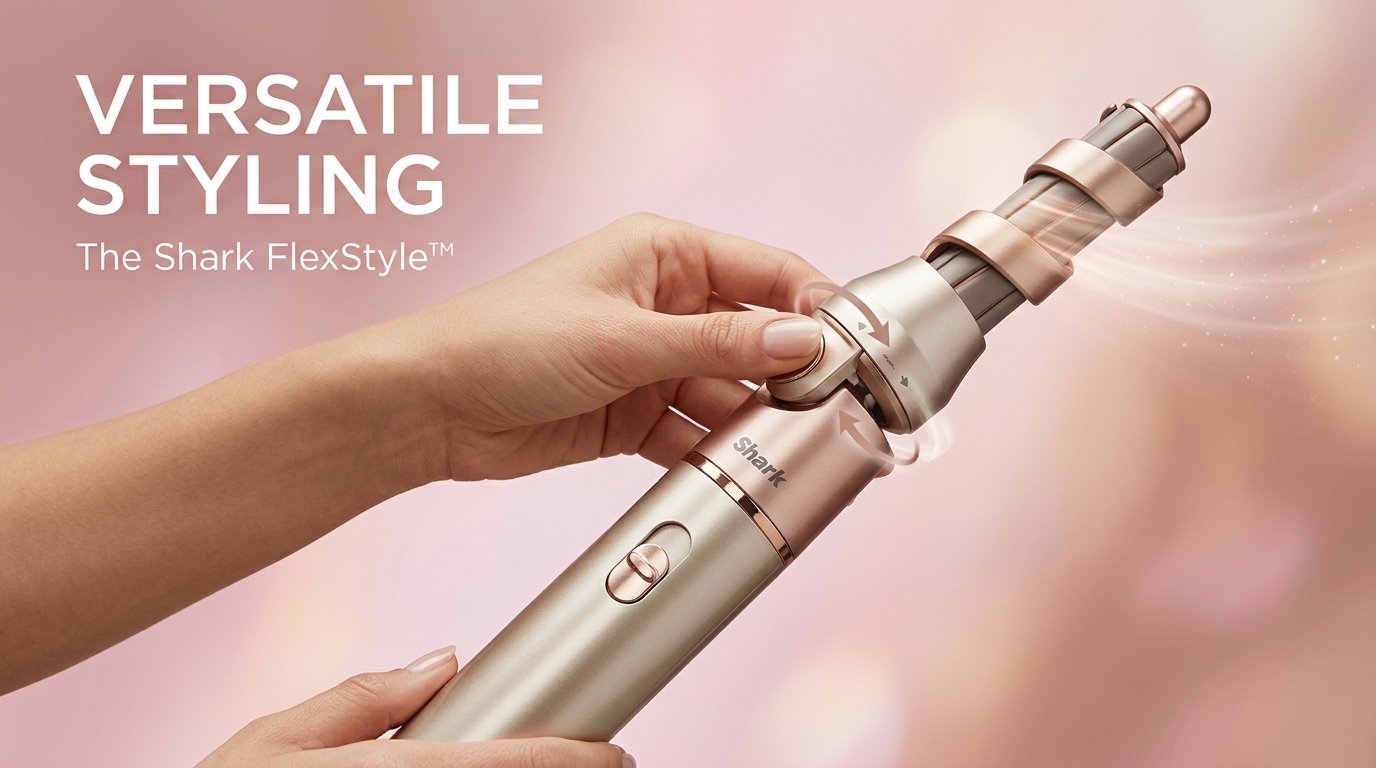
The tool changes shape. In dryer mode it works like a normal hairdryer. In styling mode the airflow pulls hair around an attachment, which helps it wrap and hold. That shift is what separates it from a basic blow-dryer.
How Shark Flex Styling Works
Most of the work comes down to airflow. Many air stylers use a principle called the Coanda effect, where a stream of air clings to a curved surface. In practice, this means your hair is drawn toward the attachment and tends to stay in place while it dries, instead of whipping around.
Because the styling is done by air, the attachment itself doesn’t need to be scorching hot. That’s a big reason many people find the approach gentler than clamping hair between hot plates. It doesn’t make heat styling risk-free, but it does reduce the amount of direct surface contact.
Why Shark Flex Styling Suits Busy People
Time is the main appeal. Instead of drying completely and then restyling, you do both in one pass. Many people report a noticeable drop in styling time once they learn the technique, though results depend on hair length and thickness.
Choosing the Right Attachment for Your Hair
This is where most beginners go wrong. The attachment decides the result, so match it to your hair and your goal.
Curl and Wave Attachments
Auto-wrap curlers pull hair around the barrel and hold it as it dries. They work best on hair that’s slightly damp rather than soaking wet. Pick the left- or right-rotating barrel so the curl direction frames your face the way you want.
Smoothing and Volumising Brushes
An oval brush is good for medium to long hair when you want a smooth, polished finish. A round volumising brush lifts the roots and adds body, which helps fine or flat hair.
Concentrator and Diffuser
The concentrator nozzle gives you focused airflow for pre-drying and precision work. The diffuser is the better choice for natural curls and coils because it dries them gently and keeps the pattern from frizzing.
Quick answer: For straight or wavy hair, start with the oval brush. For curls, use the diffuser. For defined waves or curls, use the auto-wrap curlers.
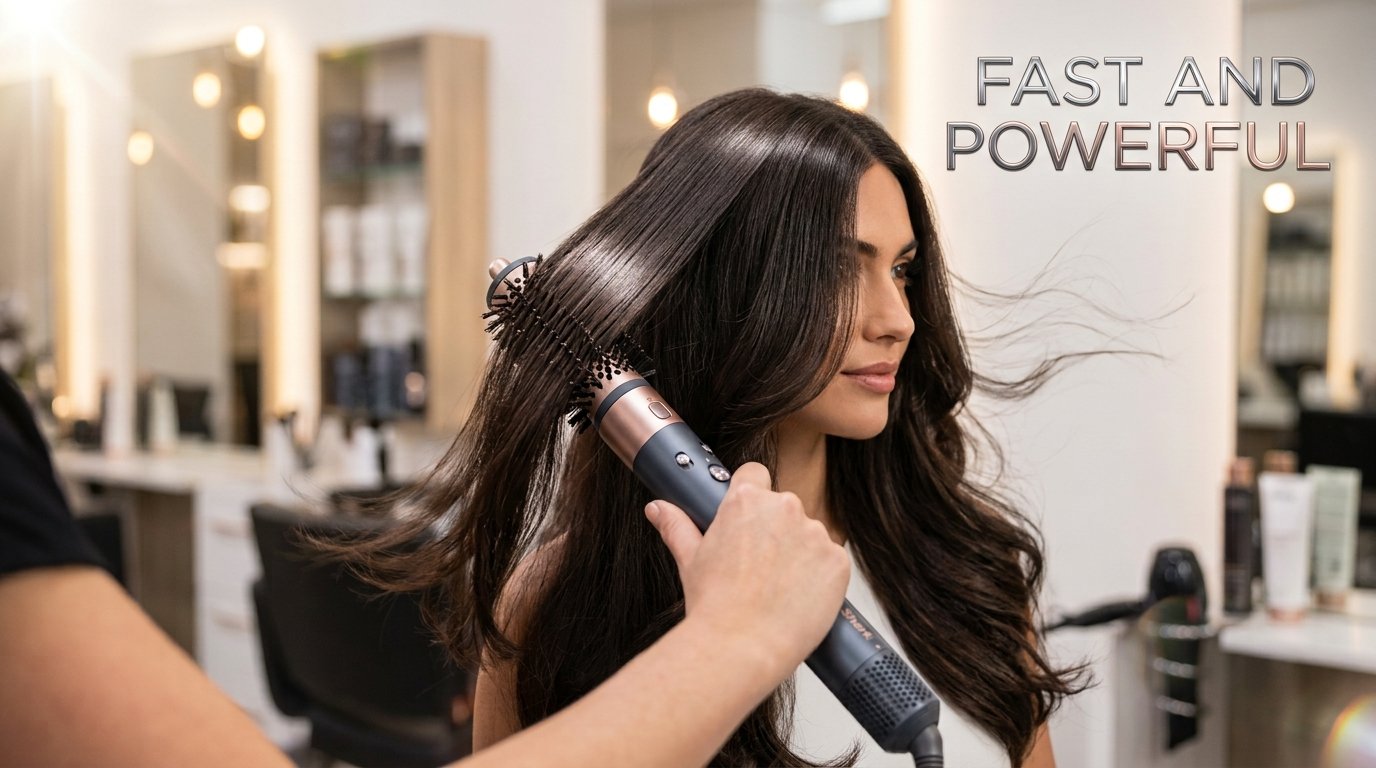
Shark Flex Styling Step by Step
You don’t need professional training. You need a repeatable routine.
Step 1: Start with Towel-Dried Hair
Gently squeeze out water with a towel or microfibre cloth. Rubbing roughs up the cuticle and causes frizz. Your hair should feel damp, not dripping.
Step 2: Apply Protection
Use a heat protectant spray or a light leave-in product. Spread it through with a wide-tooth comb so the coverage is even. Skipping this step is one of the most common causes of dull, dry ends.
Step 3: Pre-Dry with the Concentrator
Rough-dry until your hair is about 80 percent dry. Styling soaking hair takes much longer and can leave curls looser than you wanted.
Step 4: Section Your Hair
Divide your hair into top and bottom layers and clip the top out of the way. Smaller sections give a tighter, longer-lasting result. Thick hair needs more sections than fine hair.
Step 5: Style Each Section
Work from the bottom layer upwards. For curls, feed a section into the auto-wrap barrel and hold it for the time your tool suggests. For a smooth finish, glide the brush from root to tip while keeping the airflow moving along the strand.
Step 6: Cool and Set
Use the cool setting for a few seconds on each section. Cooling helps the shape hold. Let curls cool completely before you brush them out, or they may drop.
Shark Flex Styling for Different Hair Types
One routine doesn’t fit everyone, so adjust.
Fine hair: Use lower heat, a volumising brush and a lightweight mousse at the roots. Heavy products will weigh it down.
Thick or coarse hair: Take smaller sections and allow extra time. A smoothing cream before drying helps control frizz.
Curly and coily hair: Use the diffuser on a low or medium setting and avoid touching your hair while it dries. This preserves definition.
Colour-treated hair: Keep the temperature moderate and use a protectant every time. Coloured hair can already be more fragile, so gentler settings pay off.
Common Shark Flex Styling Mistakes to Avoid
Even a good tool can disappoint when the technique is off. These are the usual culprits:
- Starting with very wet hair. It extends styling time and weakens the hold.
- Using sections that are too large. The air can’t wrap the hair properly, so curls look uneven.
- Skipping heat protection. Air stylers are gentler, but not heat-proof.
- Holding the heat too long in one spot. Keep the tool moving to avoid dry patches.
- Brushing curls out immediately. Let them cool first.
- Neglecting maintenance. A clogged filter reduces airflow and performance. Clean it regularly according to the instructions.
Is Shark Flex Styling Worth It?
It depends on what you want. If you currently use several separate tools and want to simplify your routine, a single air styler can make sense. If you rely on very sharp, bone-straight results from a flat iron, you may still want a straightener for some looks.
The honest trade-off is the learning curve. Expect to spend a few sessions getting a feel for tension, timing and sectioning. Most people find that once the technique clicks, the routine becomes quicker and more consistent. Check the manufacturer’s guidance and your hair’s condition before changing your routine, especially if your hair is very damaged.
Frequently Asked Questions
What is Shark Flex Styling used for?
Shark Flex Styling is used to dry and style hair in one step. You can create curls, waves, volume or a smooth blowout by changing the attachment.
Is Shark Flex Styling better than a traditional hair dryer?
For styling, usually yes, because it shapes hair while it dries. For simple drying, a standard dryer does the job. The advantage of Shark Flex Styling is the all-in-one flexibility.
Is Shark Flex Styling safe for damaged hair?
Because it uses airflow instead of direct hot plates, many people find it gentler. Still, use a heat protectant, choose a lower temperature and avoid repeated passes over the same section.
How long does Shark Flex Styling take?
It varies by hair length and thickness. Short or fine hair may take a few minutes, while long, thick hair takes longer. Pre-drying and sectioning cut the total time.
Can I use Shark Flex Styling on curly hair?
Yes. Use the diffuser for natural curls or the auto-wrap curlers to define them. Keep the airflow gentle and let your hair dry without constant touching.
Final Thoughts
Shark Flex Styling is not magic, but it is a smart way to simplify your routine. Choose the right attachment, start with damp hair, protect it from heat, work in sections, and cool each one before releasing it. Do those few things consistently and you’ll get a polished, long-lasting finish without spending your morning on it.
Ready to try it? Pick one look this week, whether that’s loose waves, a smooth blowout or defined curls, and follow the steps above. Tweak the timing to suit your hair, and share your favourite result with a friend who’s still wrestling with three different tools.