
You open a drawer full of brushes, palettes and little tubes, and suddenly make up feels like a language nobody taught you. Most beginners don’t fail because they lack talent. They fail because they start with too many products, in the wrong order, for the wrong skin type.
This guide fixes that. By the end, you’ll know what to buy first, how to apply it in the right order, and which mistakes make a face look heavy instead of fresh. You don’t need a huge budget, and you don’t need a tutorial that lasts an hour.
What Is Make Up, and Why Does the Order Matter?
Make up is simply a set of cosmetic products that even out your skin tone, add colour and define your features. The goal isn’t to look like someone else. A good make up routine makes you look rested and polished.
The order matters because products sit on top of each other. Put powder on before cream blush, and the cream turns patchy. Apply foundation before moisturiser has sunk in, and it slides around your face. Professional make up artists follow a layering logic: skin prep, base, colour, then set. Once you learn that sequence, every product you add later has an obvious place.
Start With Skin Prep, Not Products
Here is the part most beginners skip. Make up looks only as good as the skin underneath it. Dry, flaky skin makes foundation cling to patches. Oily skin makes it slip away by lunchtime.
A basic prep routine takes about three minutes:
- Cleanse your face so there’s no leftover oil or dirt.
- Moisturise with a light cream suited to your skin type.
- Apply sunscreen in the morning. It also helps keep your base from looking blotchy in daylight.
- Wait two minutes before you start your make up.
That last step sounds small, but it stops a lot of pilling and sliding.
Choosing a Primer (Optional)
A primer is not essential for beginners. If your foundation fades quickly or your pores look more visible by midday, a small amount can help. If your skin is fairly even, skip it and save the money.
The Essential Make Up Kit for Beginners
You don’t need twenty products. Start with a small kit and learn it well:
- Foundation or tinted moisturiser for even skin tone
- Concealer for dark circles and blemishes
- Powder to set the base, especially in the T-zone
- Blush for a healthy, natural flush
- Mascara to open up the eyes
- Brow product (pencil or gel) to frame the face
- Lip balm or lipstick for a finished look
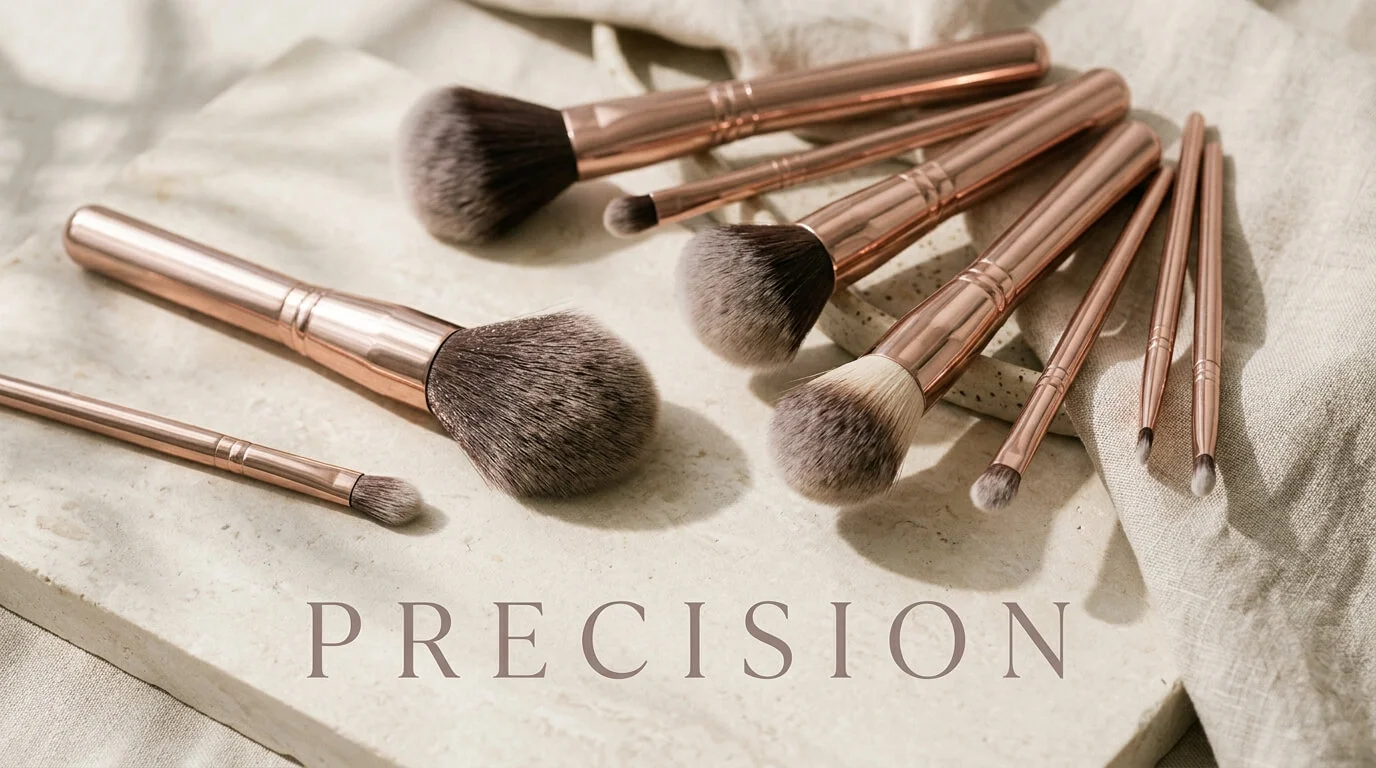
A sponge or a dense brush will also help you blend. If you only buy one tool, make it a damp sponge, because it’s forgiving and gives a natural finish.
How to Apply Make Up Step by Step
This is the core routine. Take your time on the first few attempts. Speed comes naturally after a week or two.
Step 1: Apply Foundation Lightly
Dot a small amount on your forehead, cheeks, nose and chin, then blend outward. Start with less than you think you need. You can always add a second thin layer, but removing too much product is much harder. Blend down the jawline so there’s no visible edge.
Step 2: Conceal Only Where Needed
Put concealer under the eyes in a small triangle shape and on any blemishes. Tap it in with your fingertip or sponge instead of rubbing. Rubbing moves the product away and leaves the area uncovered.
Step 3: Set With Powder
Use a fluffy brush and lightly dust powder over the centre of your face. You’re not trying to cover everything, just the areas that tend to shine. Setting your base is what helps make up last through a whole day.
Step 4: Add Colour With Blush
Smile, then place blush on the round part of your cheeks and blend upward toward your temples. Cream blush suits dry skin, and powder blush suits oily skin. If you’re unsure, begin with a soft pink or peach, since both flatter most skin tones.
Step 5: Define Eyes and Brows
Curl your lashes if you like, then apply one or two coats of mascara, wiggling the wand at the base. Fill in sparse areas of your brows with short, light strokes that copy the direction of natural hairs. Heavy, solid lines are the quickest way to make a beginner look obvious.
Step 6: Finish With Lips
Apply balm or a lip colour that’s close to your natural shade. Blot once with a tissue to keep it from feeling sticky.
How to Choose the Right Make Up for Your Skin Type
Using the wrong formula is one of the most common reasons make up looks bad, even when the technique is correct.
- Oily skin: Look for oil-free or matte formulas and use a little more powder through the T-zone.
- Dry skin: Choose creamy or “hydrating” textures and avoid heavy powder, which can emphasise dry patches.
- Combination skin: Use a light, balanced foundation and set only the oily zones.
- Sensitive skin: Pick fragrance-free products and test a new item on your jaw before using it on your whole face.
For shade matching, test foundation along your jawline in natural daylight. Shop lighting can be misleading. The right shade will seem to disappear into your skin.
Common Make Up Mistakes to Avoid
Almost everyone makes these at the start, so don’t feel bad about it:
- Using too much product. Thin layers always look better than one thick one.
- Skipping blending. Hard lines at the jaw, brows or blush are what make make up look obvious.
- Wrong foundation shade. A mask-like face with a neck of a different colour is a clear sign.
- Dirty brushes and sponges. They hold bacteria and can contribute to breakouts. Wash brushes weekly and sponges more often.
- Going to bed with it on. Always remove make up before sleeping, because it’s hard on your skin overnight.
Simple Habits That Make Your Make Up Look Better
A few small routines make a bigger difference than buying more expensive products. Check your make up in daylight before leaving the house, because bathroom lights can hide patches. Keep a clean sponge and a small mirror in your bag for quick touch-ups. And practise on a day when you have nowhere to be, so you can experiment without pressure.
Also check expiry dates. Mascara should usually be replaced every three months or so, since old formulas can irritate the eyes.

Frequently Asked Questions About Make Up
What should I buy first if I’m new to make up?
Start with a tinted moisturiser or light foundation, concealer, mascara, blush and a lip balm. These five or six items cover most everyday looks.
How long does it take to apply make up?
A basic routine takes about 10 to 15 minutes once you’re comfortable. At the beginning, expect it to take longer, and that’s normal.
Do I need to wear make up every day?
No. It’s a personal choice, not a requirement. If you do wear it daily, keep your skincare routine consistent so your skin stays healthy.
How do I stop make up from creasing or fading?
Prepare your skin with moisturiser, use thin layers and set your base with a light dusting of powder. Setting spray can help too, though it’s optional.
Which make up brands are best for beginners?
The brand matters less than the formula and shade. Choose products designed for your skin type, read ingredient lists if you have sensitivities, and try testers or small sizes first.
Final Thoughts: Keep It Simple and Practise
Learning make up is much like learning any skill. The results improve with practice, not with a bigger collection of products. Begin with good skin prep, build a small kit, apply thin layers and blend carefully. Within a couple of weeks, you’ll find your own rhythm and know what suits your face.
Ready to start? Pick just three products from the kit list above and try the step-by-step routine tomorrow morning. Then share your experience in the comments, and tell us which step you’d like explained in more detail.