
You have a job interview, a wedding or an important meeting in an hour. You pull your favourite shirt out of the wardrobe and find it covered in creases. You plug in the iron, press down, and somehow end up with a new wrinkle for every one you smooth out.
It happens to almost everyone, and the cause is usually the order you iron in and the heat you use, not a lack of skill. Once you know how to iron a shirt in the right sequence, the job takes about five to eight minutes and the result looks like it came from a dry cleaner.
This guide covers the correct order, the right temperature for each fabric, a few shortcuts, and the mistakes that ruin shirts. It’s based on years of pressing my own work shirts, so it’s practical rather than theoretical.
How to Iron a Shirt: The Quick Answer
Set your iron to the temperature on the shirt’s care label. Start with the collar, then the cuffs, shoulders (yoke) and sleeves. Finish with the front and back panels. Keep the shirt slightly damp or use steam. Always iron the inside of the collar and cuffs first, then flip them over.
Everything below explains those steps in detail.
What You Need Before You Start
You don’t need much:
- A steam iron with a clean soleplate
- An ironing board with a smooth, padded cover
- A spray bottle filled with water (for stubborn creases)
- A hanger for the finished shirt
- Distilled water if you live in a hard-water area, which stops limescale from staining the fabric
A clean soleplate matters more than most people think. Residue on a dirty iron transfers to light-coloured shirts and leaves brown marks that are hard to remove.
Check the Care Label and Set the Right Heat
Too much heat scorches fabric, and too little leaves wrinkles behind. The care label inside the side seam tells you what your shirt can take.
| Fabric | Iron temperature | Notes |
|---|---|---|
| Cotton | 180–200°C (356–392°F) | Iron while slightly damp |
| Linen | 200–230°C (392–446°F) | Use plenty of steam |
| Polyester | 110°C (230°F) | Low heat only, or it can melt |
| Cotton-polyester blend | 140–150°C (284–302°F) | Medium heat is safest |
| Silk | 110–150°C (230–300°F) | Iron inside out with a cloth |
| Wool | 150°C (300°F) | Use a pressing cloth |
Dot symbols on your iron help if you don’t see numbers. One dot means low heat, two is medium and three is high. When you’re unsure, start low and work up. Adding heat is easy, but you can’t undo a scorch mark.
How to Iron a Shirt Step by Step
Follow this order every time. It’s designed so you never press a finished area against the board again.
Step 1: Start with the Collar
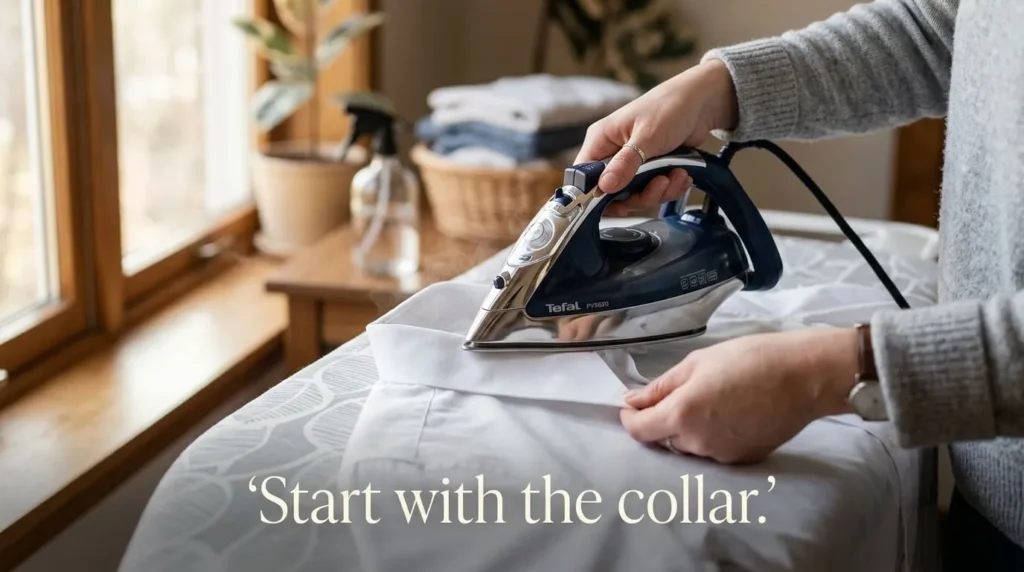
Lay the collar flat with the underside facing up. Iron from the outer points toward the centre so the fabric doesn’t bunch. Flip it over and repeat on the top side. Ironing the underside first prevents the puckering you often see on the visible side.
Step 2: Move on to the Cuffs
Open the cuffs fully and iron the inside first, then the outside. If your shirt has buttons on the cuff, press around them with the tip of the iron rather than over them, since pressing directly on buttons can crack or melt them.
Step 3: Press the Yoke (Shoulders)
The yoke is the panel across the shoulders. Slide one shoulder over the narrow end of the board and press it flat. Repeat on the other side. This is the part most people skip, and it’s why their shirts look rumpled even after ironing.
Step 4: Do the Sleeves
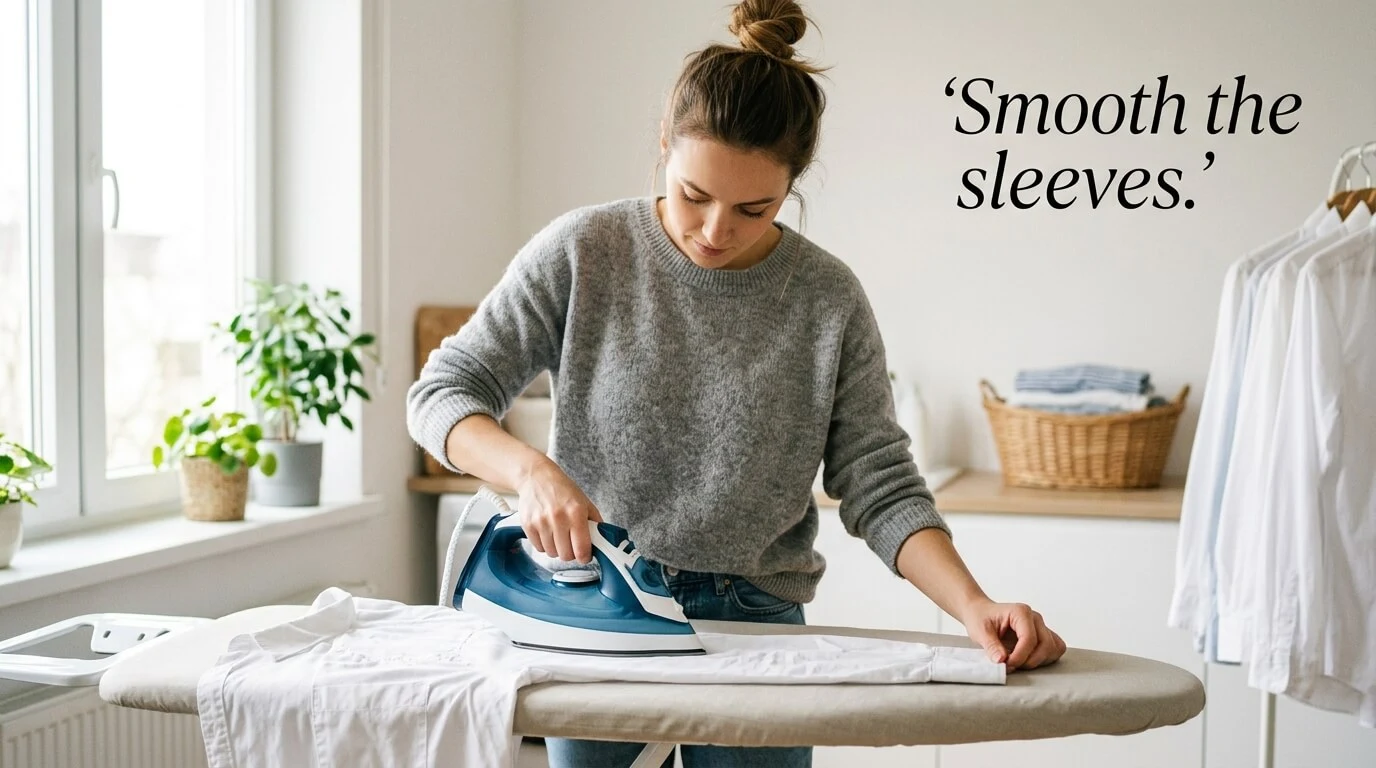
Lay each sleeve flat on the board with the seam lined up along the edge. Press from the cuff up to the shoulder. If you want a sharp crease down the sleeve, iron it in. Otherwise, rotate the sleeve as you go for a smoother finish.
Step 5: Finish with the Body
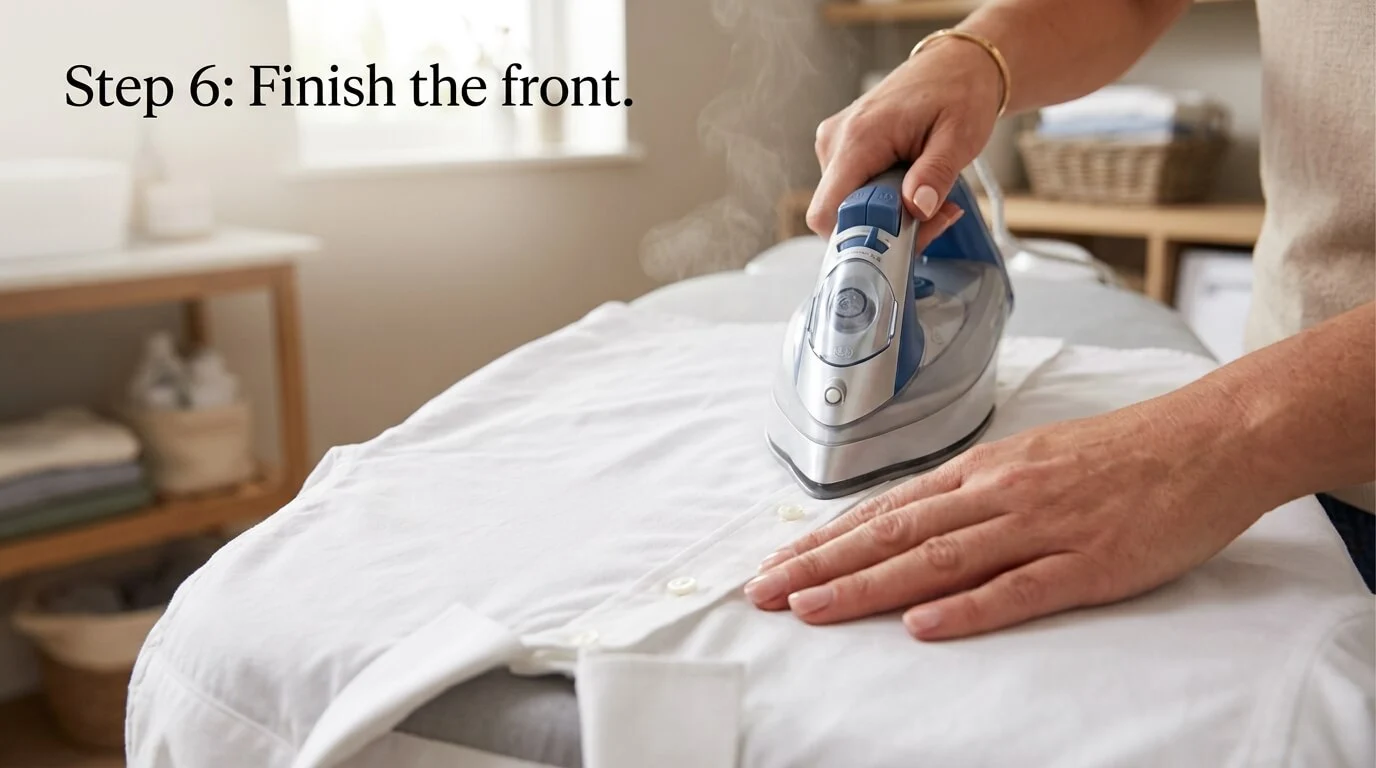
Start with the front panel that has the buttonholes. Slide the shirt over the board and iron each section in slow, straight strokes. Move to the button side next, pressing around the buttons. Then do the back, starting at the yoke and working down. Hang the shirt right away and button it up to the second button so it holds its shape.
How to Iron a Shirt Without an Ironing Board
No board? It’s still doable. Use a clean, flat surface such as a sturdy table covered with a thick, folded bath towel. The towel gives the padding an ironing board normally provides.
Keep the same order and go a little slower, since a towel is less stable than a board. Avoid ironing on carpet or a wooden surface without protection, because heat can mark both. In a pinch, hanging a shirt in a steamy bathroom while you shower relaxes light wrinkles surprisingly well.
Common Mistakes That Ruin a Good Shirt
Most ironing problems come down to a handful of habits:
- Ironing a completely dry shirt. Dry cotton resists the iron. A light mist of water or steam does most of the work.
- Using the wrong temperature. Polyester on a high setting can leave a shiny, melted patch that never comes out.
- Pressing over stains. Heat sets stains permanently. Wash the shirt again before ironing if a mark remains.
- Ironing in circles. Circular motions stretch the fabric. Straight, gentle strokes work better.
- Skipping the label. It takes five seconds and saves the shirt.
Pro Tips for a Longer-Lasting Crisp Finish
A few small habits make your work last through the day:
- Iron while the shirt is slightly damp. Take it out of the dryer a little early, or spritz it lightly.
- Use a steamer for a quick refresh. It’s perfect for shirts that only need a light touch.
- Let the shirt cool before wearing. Fabric sets as it cools, so a few minutes on a hanger helps.
- Store shirts on hangers. Folding creates new creases you’ll have to iron out again.
- Iron dark shirts inside out. This prevents the shiny marks that heat can leave on dark fabric.
My Experience with Ironing Shirts
I used to dread ironing because I never got a good result. Once I started following the collar-to-body order and checking the care label first, everything changed. My shirts now look sharp in about six minutes, and I get far fewer wrinkles overall. It felt like a small skill, but it made a real difference to how I feel walking into a room.
Frequently Asked Questions
What is the correct order for ironing a shirt?
Start with the collar, then cuffs, yoke, sleeves and finally the front and back panels. This order stops you from re-creasing areas you’ve already pressed.
Should I iron a shirt wet or dry?
Slightly damp is best. Fully wet fabric takes too long to dry, and fully dry fabric resists the iron. A light mist of water fixes dryness quickly.
What temperature should I use to iron a cotton shirt?
Cotton handles 180–200°C (356–392°F), which is usually the three-dot setting. Always check the care label first, since some finishes need less heat.
Can I iron a shirt without steam?
Yes. Lightly dampen the fabric with a spray bottle and iron on the correct heat setting. Steam just makes the job faster.
How do I get wrinkles out of a shirt without an iron?
Hang it in a steamy bathroom, use a handheld steamer, or tumble it in the dryer with a damp cloth for a few minutes. These methods work best for light creases.
Conclusion: Start Ironing Like a Pro
Learning how to iron a shirt is really about three things: the right temperature, the right order and a little moisture. Get those right and you’ll have a crisp, professional shirt in minutes, without a trip to the dry cleaner.
Try the method on your next shirt and see the difference for yourself. If this guide helped, share it with someone who’s still fighting their creases, and keep an eye out for more practical laundry and clothing care guides.