
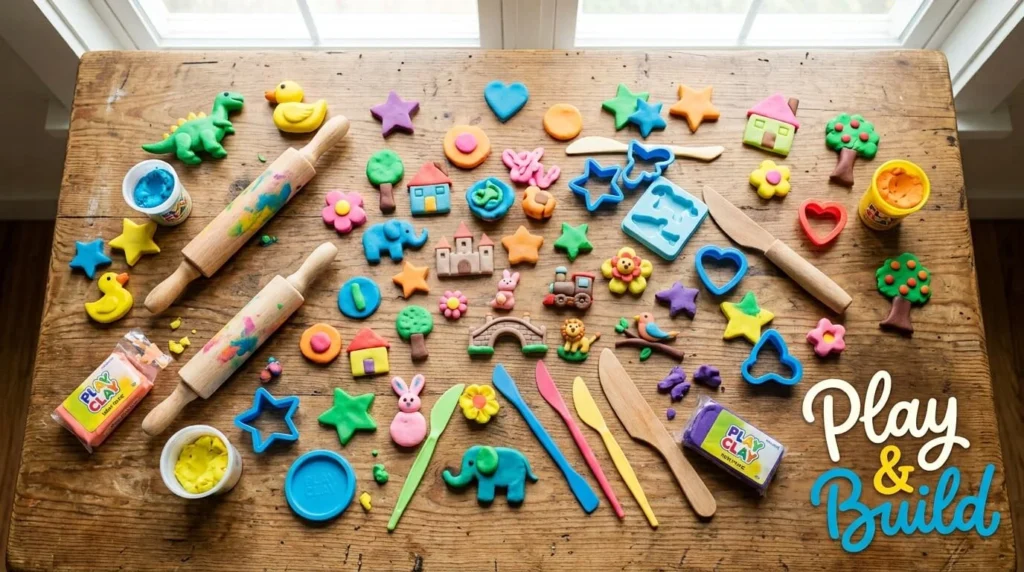
There’s a certain kind of magic in pressing your fingers into a soft, cool lump of clay and watching it become something. A bowl. A figurine. A gift someone will keep for years. But if you’ve ever bought the wrong type of molding clay, watched your project crack overnight, or wondered why your sculpture never quite dried right, you know that “just grab some clay” isn’t actually good advice.
This guide breaks down everything you actually need to know—what molding clay is, which type fits your project, how to work with it without frustration, and how to avoid the mistakes that trip up almost every beginner. By the end, you’ll know exactly what to buy and how to use it with confidence.
What Is Molding Clay, Exactly?
Molding clay is a soft, pliable material used for sculpting, crafting, and creating three-dimensional shapes by hand or with molds. Unlike wet ceramic clay that needs a kiln, most molding clay used by hobbyists, students, and small business owners is designed to dry, cure, or stay reusable at room temperature—no special equipment required.
It’s a broad category, though, and that’s where confusion usually starts. “Molding clay” can refer to several distinct materials, each with different working properties, drying methods, and ideal uses.
The Main Types of Molding Clay
Air-dry clay hardens naturally over 24–72 hours as moisture evaporates. It’s beginner-friendly, affordable, and perfect for lightweight decorative pieces, but it isn’t waterproof and can be a bit fragile once dry.
Polymer clay (think Sculpey or Fimo) doesn’t dry on its own—it cures when baked in a home oven at low temperatures. It stays soft indefinitely until baked, which makes it ideal for detailed, long-term projects like jewelry, miniatures, and figurines.
Oil-based modeling clay never hardens at all. It’s the choice for sculptors who need to keep reworking a piece over days or weeks, or for prototyping and stop-motion animation.
Paper clay is a lighter, often more forgiving air-dry variant made with paper pulp mixed in, which reduces cracking and shrinkage.
Knowing which category you’re working with before you start is the single biggest factor in whether your project succeeds.
How to Choose the Right Molding Clay for Your Project
Not every clay suits every purpose, and picking the wrong one is the most common reason projects fail before they even get interesting.
For Beginners and Kids
Air-dry clay is usually the easiest entry point. It requires no baking, no special tools, and forgives a fair number of mistakes. If you’re introducing children to sculpting or just testing the waters yourself, this is where to start.
For Detailed or Long-Term Projects
If you’re making something with fine detail—rings, pendants, miniature figures—polymer clay gives you far more control. Because it doesn’t dry until baked, you can walk away for days and pick up exactly where you left off.
For Sculptors and Prototypers
Oil-based clay is standard in professional sculpting studios and design workshops because it stays workable indefinitely. It’s not meant to be a finished, displayable piece in most cases, but rather a tool for shaping ideas.
For Eco-Conscious or Budget Crafters
Many air-dry and paper clays are non-toxic, biodegradable, and inexpensive, making them a solid choice for classroom projects or anyone crafting on a budget.
Essential Techniques for Working with Molding Clay
Good technique matters more than expensive tools. Here’s what actually makes a difference.
Conditioning the Clay
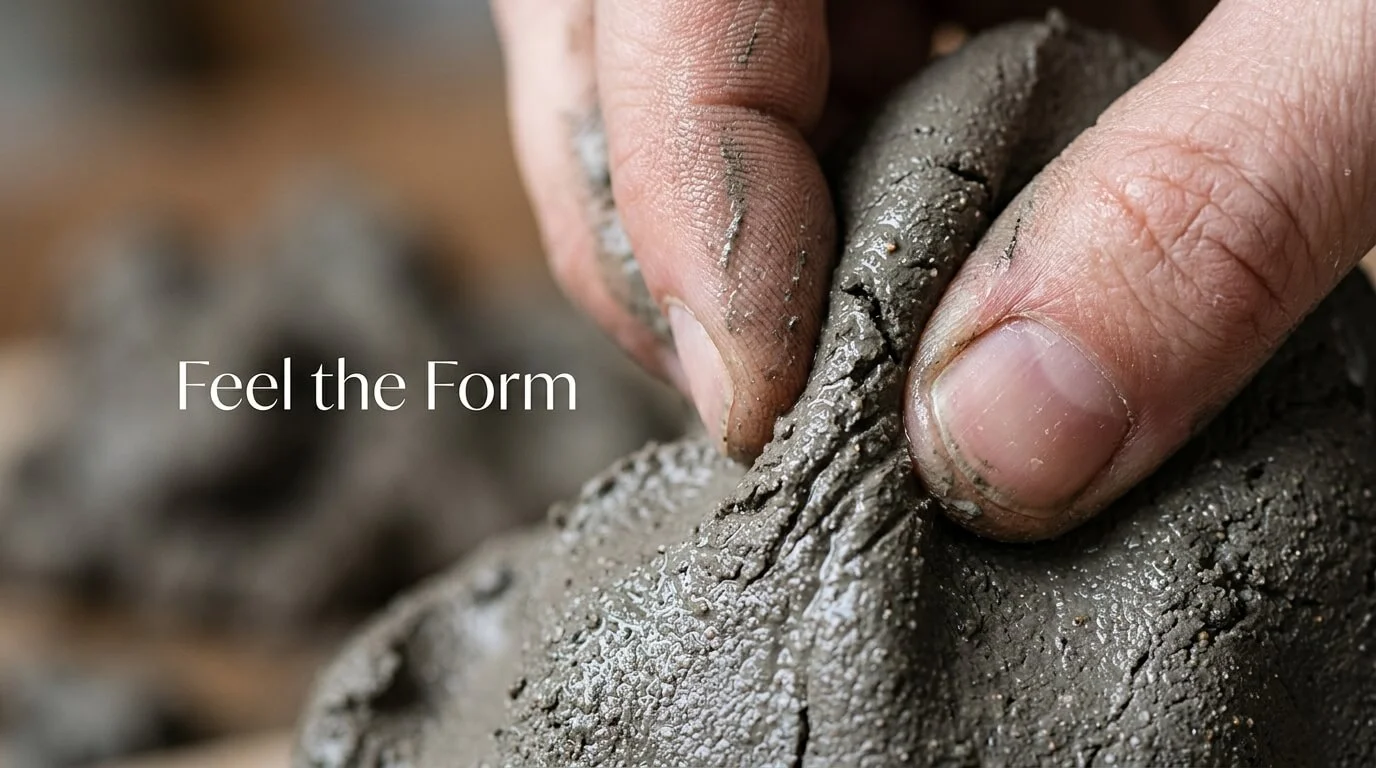
Before sculpting, clay needs to be warmed and kneaded until it’s soft and pliable—this is especially important with polymer clay, which can be quite stiff straight out of the package. Skipping this step is one of the fastest ways to end up with a piece full of tiny cracks.
Keeping Your Work Surface Clean
Dust, hair, and debris get trapped in soft clay easily and are almost impossible to remove once the piece hardens. A smooth silicone mat or a sheet of parchment paper works well as a dedicated surface.
Using the Right Tools
You don’t need a full sculpting kit to get started. A basic set typically includes:
- A rolling tool for flattening
- A few shaping tools (wooden or metal) for detail work
- A cutting tool for clean edges
- A damp sponge for smoothing seams
Preventing Air Bubbles
Trapped air is one of the sneakiest causes of cracked or warped clay pieces, particularly with polymer clay before baking. Rolling the clay slowly and pressing out bubbles as you go saves a lot of frustration later.
Drying and Curing: Where Most Mistakes Happen
This is the stage where good projects go wrong, so it deserves special attention.
Air-dry clay should dry slowly, away from direct sunlight or heating vents. Rapid drying causes uneven shrinkage, which leads to cracks—especially on thicker pieces. Turning the piece periodically helps it dry evenly on all sides.
Polymer clay needs to be baked according to the manufacturer’s exact temperature and time guidelines. Too hot, and it can scorch or discolor; too cool or too brief, and it stays brittle even after “curing.” An oven thermometer is a worthwhile investment, since many home ovens run hotter or cooler than their dial suggests.
Thicker pieces in general dry and cure more slowly and unevenly than thin ones. If you’re new to sculpting, starting with smaller, thinner designs will save you a lot of trial and error.
Common Mistakes to Avoid
- Working with clay that’s too cold or too dry. It cracks and resists shaping instead of blending smoothly.
- Rushing the drying process. Patience genuinely pays off here.
- Ignoring baking instructions on polymer clay. Every brand has slightly different requirements.
- Skipping a sealant. A finishing varnish or sealant protects the piece from moisture, dust, and everyday wear.
- Overworking the clay. Handling it too much can cause it to become sticky, discolored, or lose its shape.
Frequently Asked Questions
Is molding clay the same as pottery clay?
No. Pottery clay usually requires a kiln to fire and harden permanently, while most molding clay is designed to air-dry or cure at low oven temperatures without specialized equipment.
Can molding clay be reused once it dries?
Air-dry and polymer clay generally cannot be reused once fully hardened or baked. Oil-based clay, on the other hand, stays soft and reusable indefinitely.
How long does molding clay take to dry?
Most air-dry clay takes 24 to 72 hours to fully harden, depending on thickness and humidity levels. Thicker pieces can take several days.
Is molding clay safe for children?
Many air-dry clays are non-toxic and marketed specifically for kids, but it’s always worth checking the label, especially for children who tend to put things in their mouths.
Why does my clay keep cracking?
Cracking is usually caused by drying too quickly, working with overly dry clay, or trapped air bubbles. Slowing down the drying process and conditioning the clay thoroughly beforehand solves most cracking issues.
Final Thoughts
I’ve spent enough afternoons elbow-deep in clay to know that the difference between a piece you’re proud of and one that ends up in the trash usually comes down to a few basics: the right type of clay for the job, proper conditioning, and patience during drying. It’s a forgiving craft once you understand its quirks, and there’s real satisfaction in shaping something with nothing but your hands and a bit of practice.
If you’re ready to start your next project, pick a clay type that matches your goals, gather a few basic tools, and give yourself permission to experiment. The best way to get good at working with molding clay is simply to keep making things—cracks, mistakes, and all.