
You put on foundation, concealer and mascara, and your face still looks flat. Then you add a small dab of colour to your cheeks and everything changes. You look rested, healthy and awake.
That is the effect of liquid blush. It is the product behind the “glowing from within” look that people try to copy and often get wrong. Used badly, it ends up in patches, stripes or an unblended streak. Used well, it looks like your own skin on a very good day.
This guide covers what liquid blush is, how to choose one for your skin, how to apply it, and how to make it last. By the end you will know exactly what to buy and how to use it.
What Is Liquid Blush?
Liquid blush is a water-, silicone- or oil-based colour product that you blend into the cheeks to give a natural flush. It comes in a bottle with a wand, a tube or a pot. Unlike powder, it melts into the skin, so it looks like a natural glow rather than a layer of makeup sitting on top.
Most formulas are buildable. One dot gives a soft wash of colour, and a second or third gives more intensity. Because the pigment sits in a fluid base, it also adds a little moisture and light-catching shine, which is why many people find it more flattering on skin that is not perfectly smooth.
Liquid Blush vs Powder Blush
Both do the same job, but they behave differently.
- Finish: Liquid blush gives a dewy, skin-like finish. Powder gives a soft, matte or satin finish.
- Blendability: Liquid blush blends easily with fingers or a sponge but sets quickly. Powder gives you more time to adjust.
- Skin type: Liquid suits dry, normal and mature skin especially well. Powder tends to suit oily skin.
- Longevity: A good liquid formula can last through a long day because it bonds with the skin. Powder can fade or settle into texture.
Neither is better in every situation. If you want a fresh, natural look, though, liquid blush is hard to beat.
Why Liquid Blush Is Worth Adding to Your Routine
Liquid blush is worth using because it gives a natural, blended flush without looking powdery or heavy. Here is why many makeup artists reach for it first:
- It looks like real skin. The colour seems to come from under the surface.
- It is fast. Dot, blend and go. It takes about 30 seconds.
- It works on almost every skin type if you pick the right formula.
- It is versatile. Many shades work on the lips and eyelids too, so one product can colour your whole face.
- It suits mature skin. Powder can settle into fine lines, while liquid stays smooth.
How to Choose the Best Liquid Blush for Your Skin
Picking the right product matters more than technique. A great formula forgives mistakes. A poor match fights you the whole way.
Match the Formula to Your Skin Type
- Dry skin: Look for creamy, hydrating formulas with a dewy finish. Ingredients like glycerin or squalane help colour glide on instead of clinging to dry patches.
- Oily skin: Choose lightweight, water-based or “soft-matte” liquid blush so you do not add extra shine.
- Combination skin: A satin finish gives you balance. You can set only the oily areas with a little powder.
- Sensitive skin: Fragrance-free formulas are the safer option. Patch-test on your jawline first.
Pick a Shade That Suits Your Undertone
A simple trick is to think about how your skin flushes naturally.
- Fair skin: Soft pinks, peaches and light rose.
- Medium skin: Warm corals, rosy pinks and peachy berries.
- Deep skin: Rich berries, deep plums, warm oranges and bold reds.
If you are unsure, pinch your cheek lightly. The shade it turns is a good starting point for your ideal colour. Always test a swatch on your cheek, not the back of your hand, because lighting and skin tone differ.
How to Apply Liquid Blush Step by Step
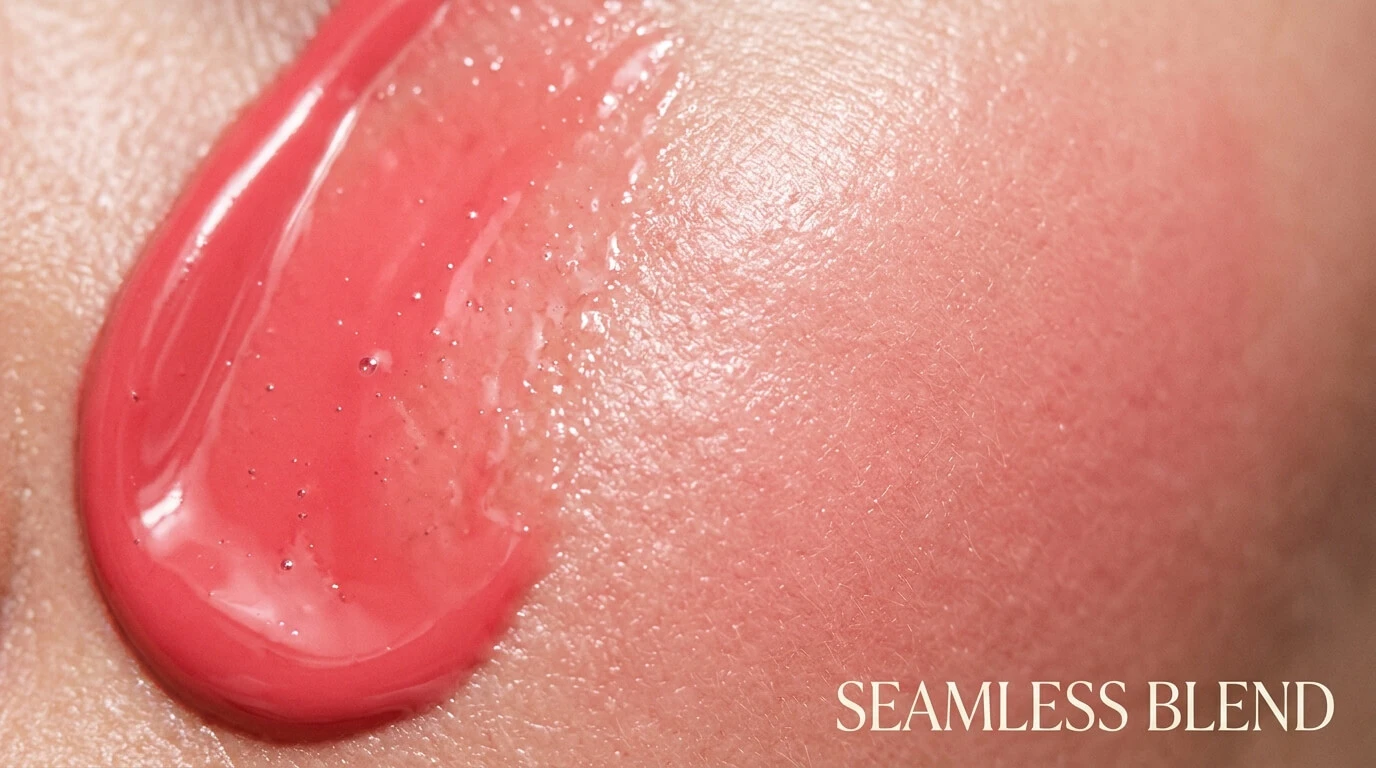
To apply liquid blush, put two or three small dots on your cheeks, then blend quickly with your fingertips or a damp sponge before the product sets. Here is the full process.
Step 1: Start With Prepped Skin
Moisturise and apply primer if you normally do. Liquid blush glides best over skin that is not dry or flaky.
Step 2: Apply Before Powder, After Foundation
Apply liquid blush after foundation and concealer but before any setting powder. Powder on top of a liquid formula can make it patchy, and applying blush over powder can make it drag.
Step 3: Use Less Than You Think
Start with one small dot or two light swipes per cheek. Colour is easy to add and hard to remove. This is the most common mistake people make.
Step 4: Place It for Your Face Shape
- Round face: Apply slightly above the hollow of your cheek and blend toward your temples to add lift.
- Long face: Blend horizontally across the apples of your cheeks to add width.
- Square face: Use a soft, circular motion on the apples to soften angles.
- Heart-shaped face: Place it just below the cheekbones and blend outward.
Step 5: Blend Quickly and Gently
Tap, don’t rub. Pressing with your fingertips warms the product and melts it into the skin. A damp makeup sponge gives a softer, more airbrushed result. Work fast, because most formulas start to set within 20 to 30 seconds.
Step 6: Set Only If You Need To
If you have oily skin, lightly dust translucent powder over the area. If your skin is dry or normal, you can usually skip this step.
Tips to Make Liquid Blush Last All Day
Nothing is more frustrating than blush that disappears by lunch. These habits help:
- Layer lightly. Two thin layers last longer than one heavy one.
- Let each layer settle for about 10 seconds before adding more.
- Pair it with a powder blush in a similar shade over the top for extra staying power. This is a common trick from professional makeup artists.
- Use a setting spray at the end to lock everything in.
- Avoid greasy skincare right before makeup, as heavy oils can make blush slide.
Common Mistakes to Avoid
- Applying too much at once. Build gradually.
- Waiting too long to blend. Once the formula sets, it is difficult to move.
- Choosing the wrong shade. A colour that looks gorgeous in the bottle may look harsh on your cheeks.
- Applying over powder. This often creates patches.
- Placing it too low. Blush near the jawline can drag your face down instead of lifting it.
Frequently Asked Questions
Can I use liquid blush on oily skin?
Yes. Choose a lightweight, water-based or soft-matte formula, apply a thin layer and set lightly with translucent powder if needed. Avoid very creamy or glossy textures.
Do you apply liquid blush before or after foundation?
After foundation and concealer. Applying it on top of your base lets the colour blend smoothly. If you use powder, apply it after the liquid blush.
Can I use liquid blush on my lips and eyes?
Many formulas are made for cheeks, lips and eyes. Check the label first. If the product is not labelled as multi-use, stick to the cheeks, because ingredients for the face may not be suitable near the eyes.
How do I fix liquid blush that looks too strong?
Tap a clean fingertip or sponge over the area to lift and soften the colour. You can also apply a little foundation or moisturiser on top and blend again.
How long does liquid blush last?
It depends on your skin and the formula, but a good liquid blush can last 6 to 8 hours with proper prep and setting.
Final Thoughts
Liquid blush is one of the simplest ways to make your makeup look fresher and more natural. Choose a formula that suits your skin, pick a shade that matches your undertone, apply it in small amounts and blend fast. That is the whole method.
If you have never tried it, start with one affordable shade this week and practise the dot-and-blend method for a few days. You will quickly find what placement and intensity suit your face. Then share your favourite shade or tip in the comments so other readers can learn from your experience.